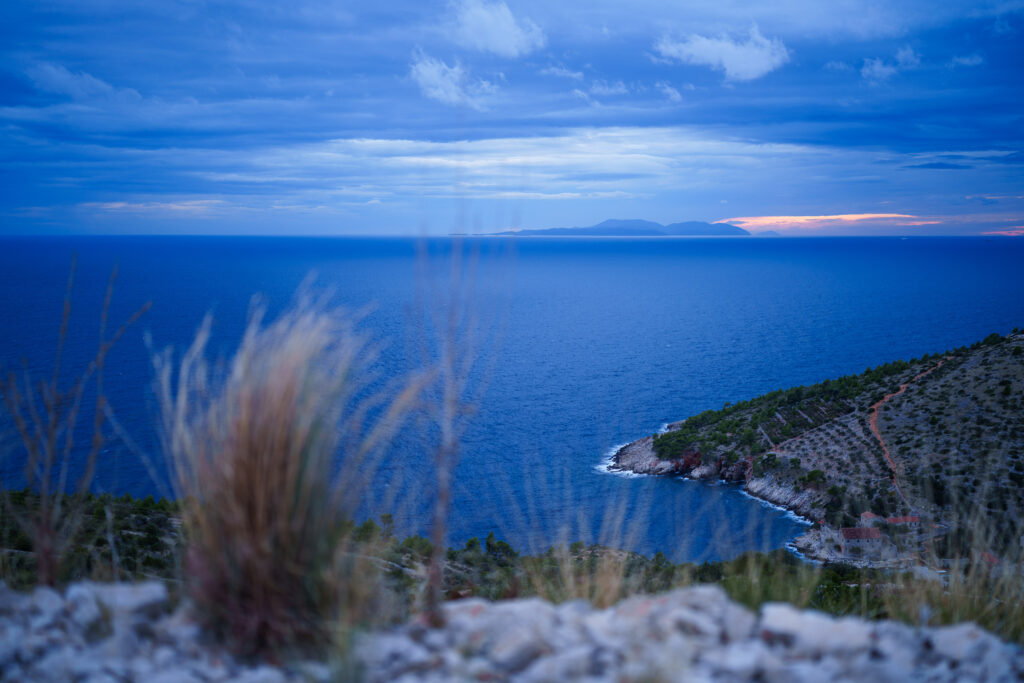
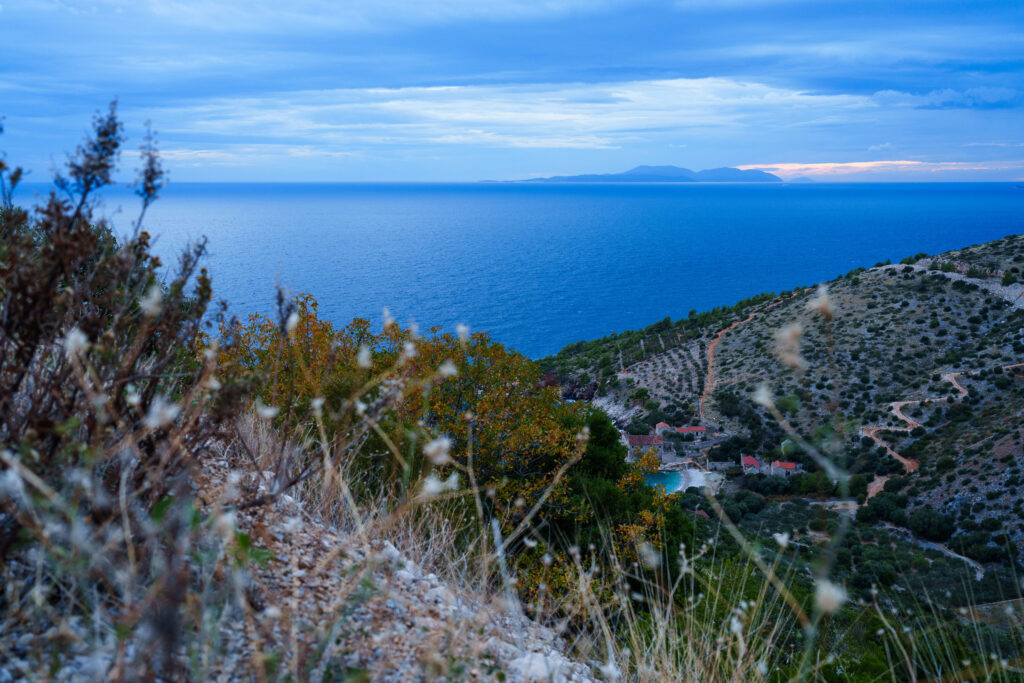
Blue hour in the hills

I had a pretty long pause with photography, since I was in a heat wave that doesn’t really encourage going out with a camera unless you really want to have a heat stroke, and it’s also a tourist season where everything’s crowded and I hate that.

Also, spending karma in industrial quantities is about as much fun as it sounds, so I wasn’t in a mood for anything really. I was processing that shit, trying not to go crazy too much, and eating too much food because I was at home and stressed out.

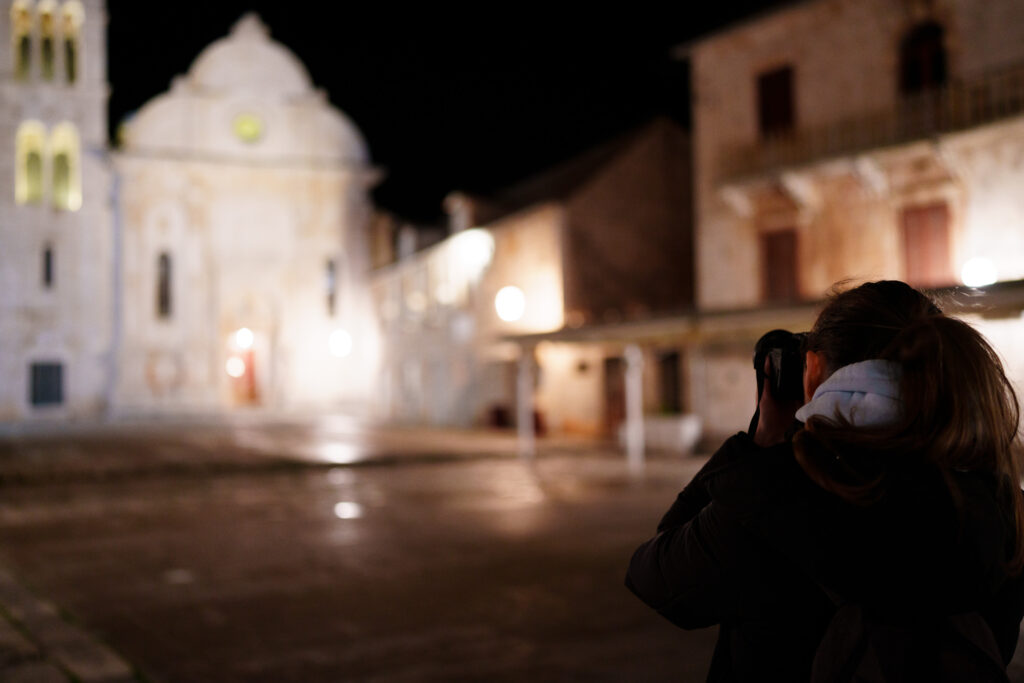
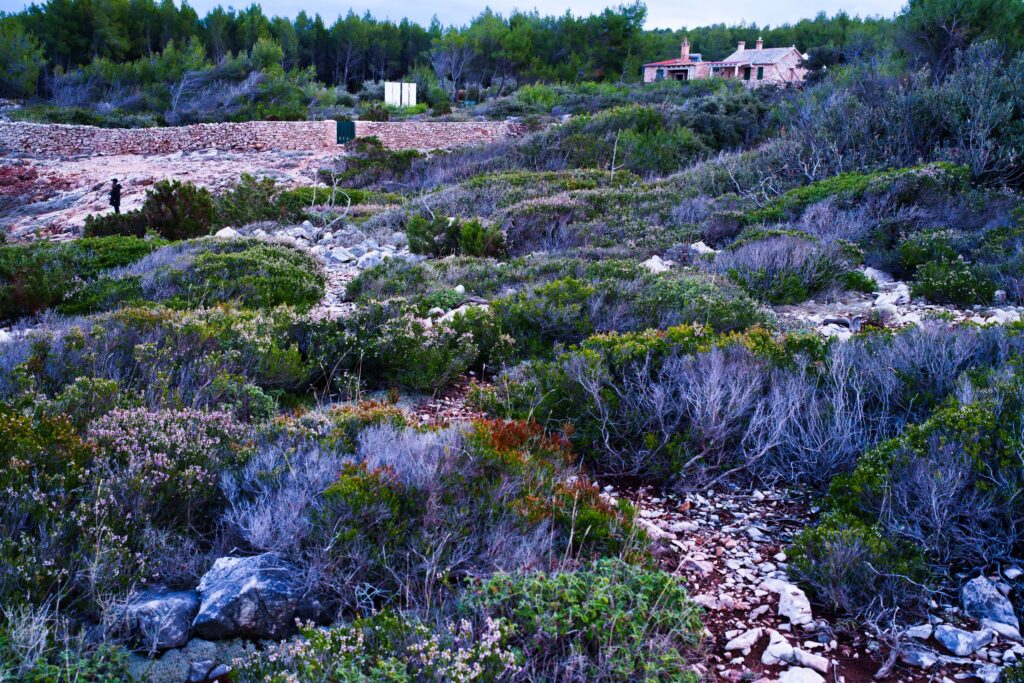
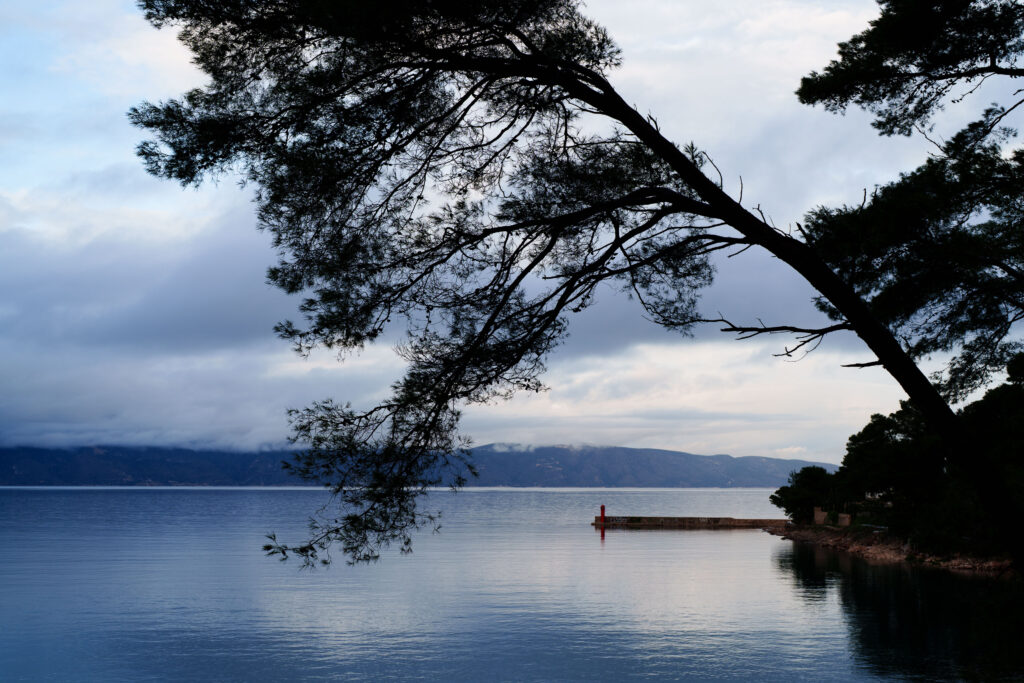
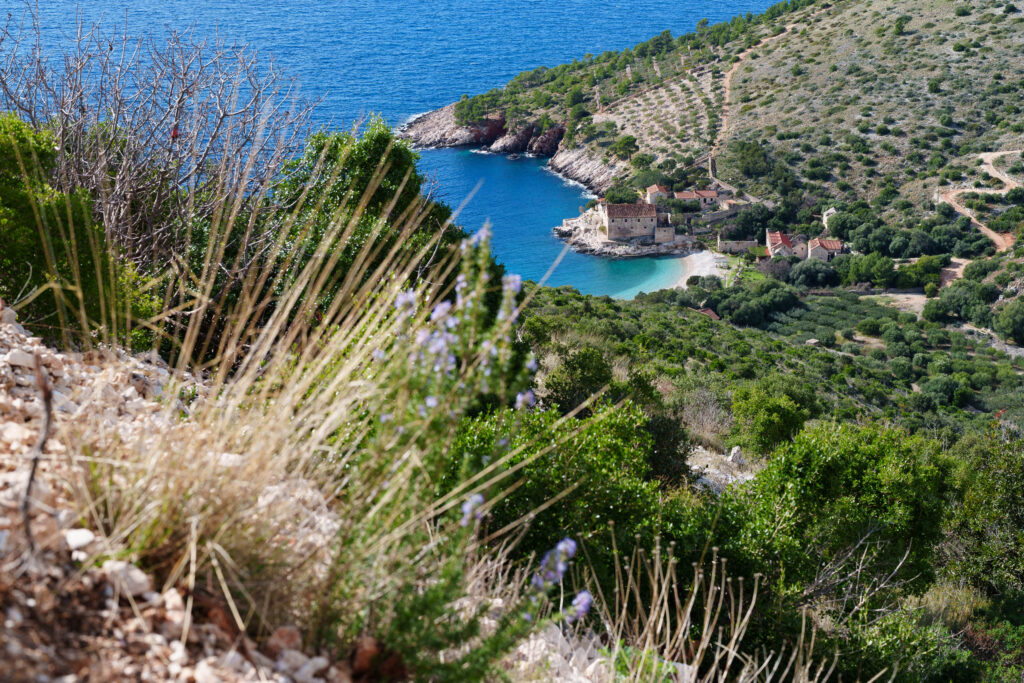
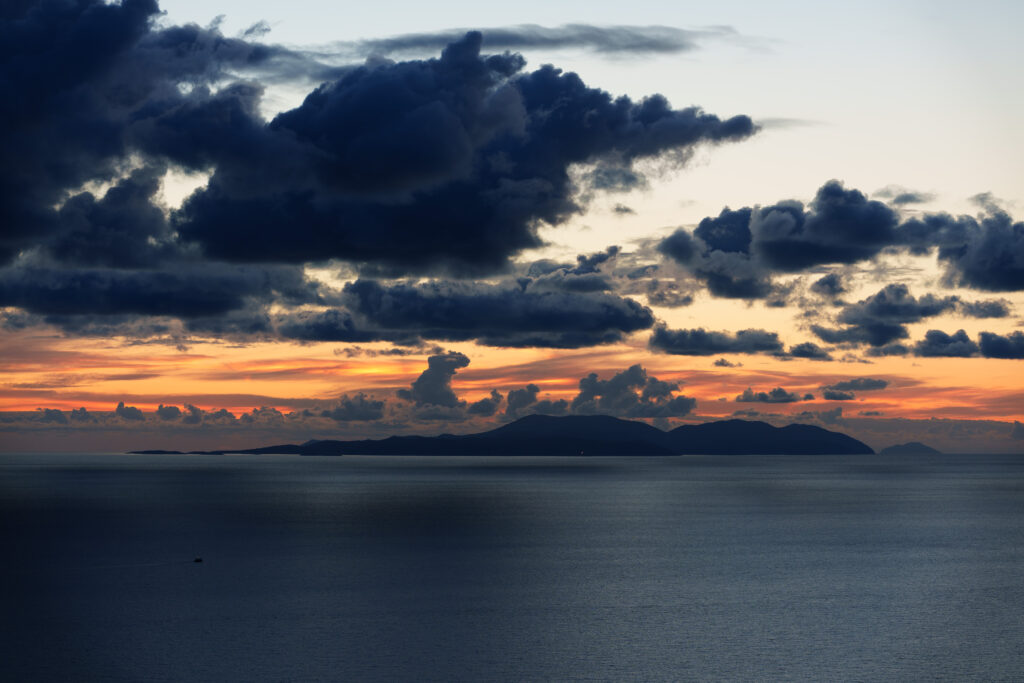
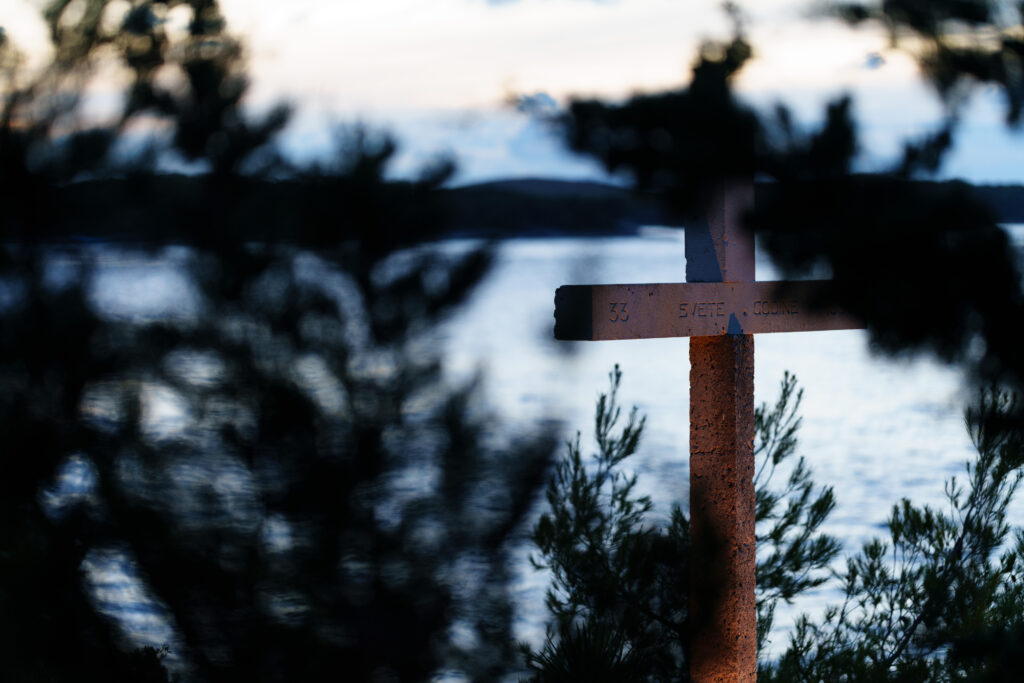
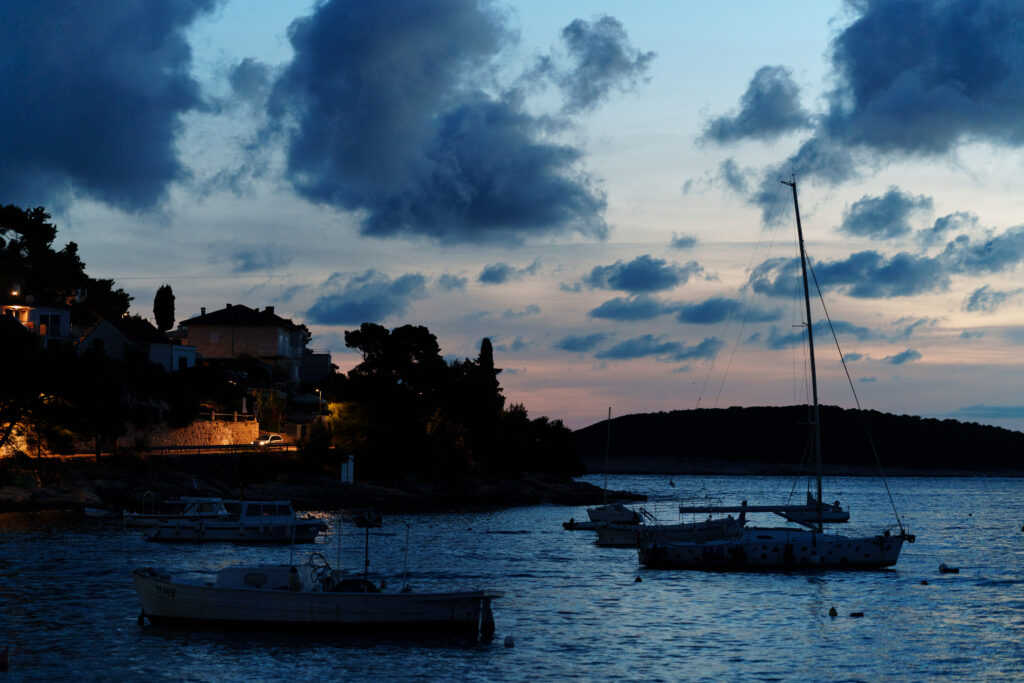
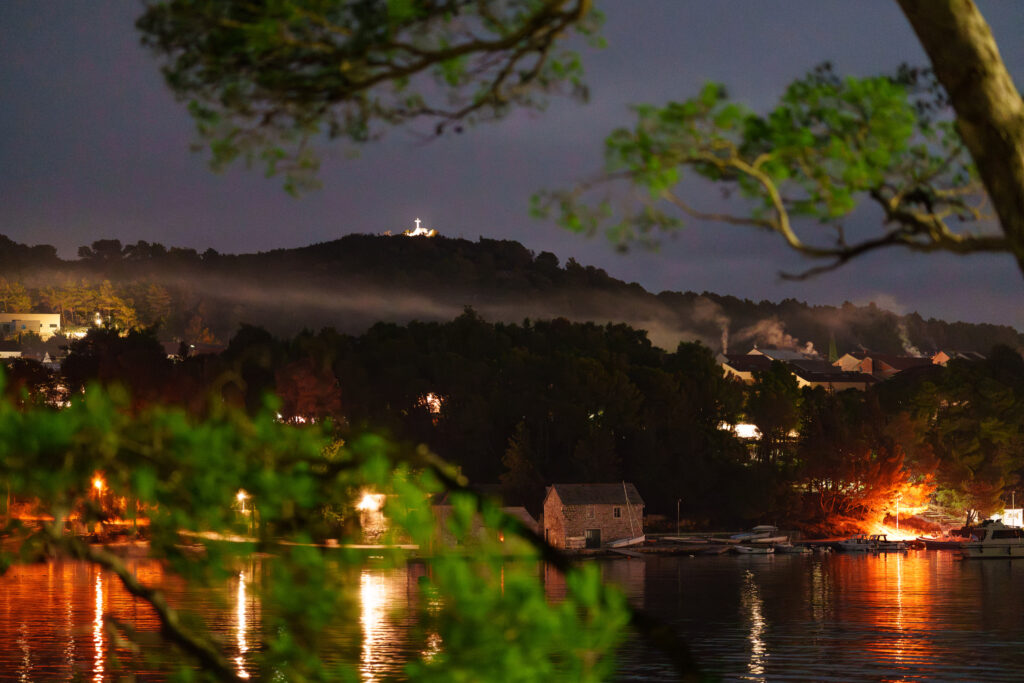
Recently, I figured out that if I climb the local hill, which is basically the top of the island, the temperatures are manageable even during the summer if I start late enough, and return in the deep dark of the night. Of course, once we get high enough to get out of the heat and the crowd, photographic opportunities start making themselves apparent, and then of course I see that I only have my phone with me, because climbing in hot weather is hard enough carrying my own excess weight, let alone camera gear. 🙂 After several frustrating experiences with iPhone raw files taken during the blue hour, I actually took the Sony A7RV and the FE 35mm f/1.4 GM with me yesterday, and we also stayed out longer than usual which means that the sun set while we were on the top, and we were descending through the blue hour and into complete darkness. So, here’s the album and some individual shots. This is Biljana’s album.

I still can’t believe I got completely sharp 61MP hand-held shots in deep blue hour with stars clearly visible in the shot, and the only thing I felt I was missing was the ability to get ultra wide angle of the Zeiss 16-35mm f/4, but of course the Zeiss at f/4 would run out of light far, far before I took some of the best shots, so I would have to carry the tripod with me as well, and even if I could convince myself that it’s a good idea, fiddling with a tripod in those conditions is really impractical and possibly even dangerous, because you can barely see anything in the conditions where that camera manages to get all those colours. So, I’m considering FE 14mm f/1.8 GM, which I didn’t buy because I thought it overlaps with the Zeiss so much that one would never be used, and its strongest point is astrophotography in the mountains. Well, now that looks like more than just a fringe use case.

Bad light

In photographic theory, we are normally taught to avoid harsh light, that casts hard shadows and creates washed out colours; essentially, avoid the middle of the day, especially if it’s not cloudy. It makes sense, however it is all relative to the purpose. Sure, if you want to shoot portraits outside, either create your own light or avoid such conditions. Also, if you want to shoot landscapes, better stick to early morning or sunset, where light has warm colours and creates all kinds of subtle transitions in the clouds and on the ground.

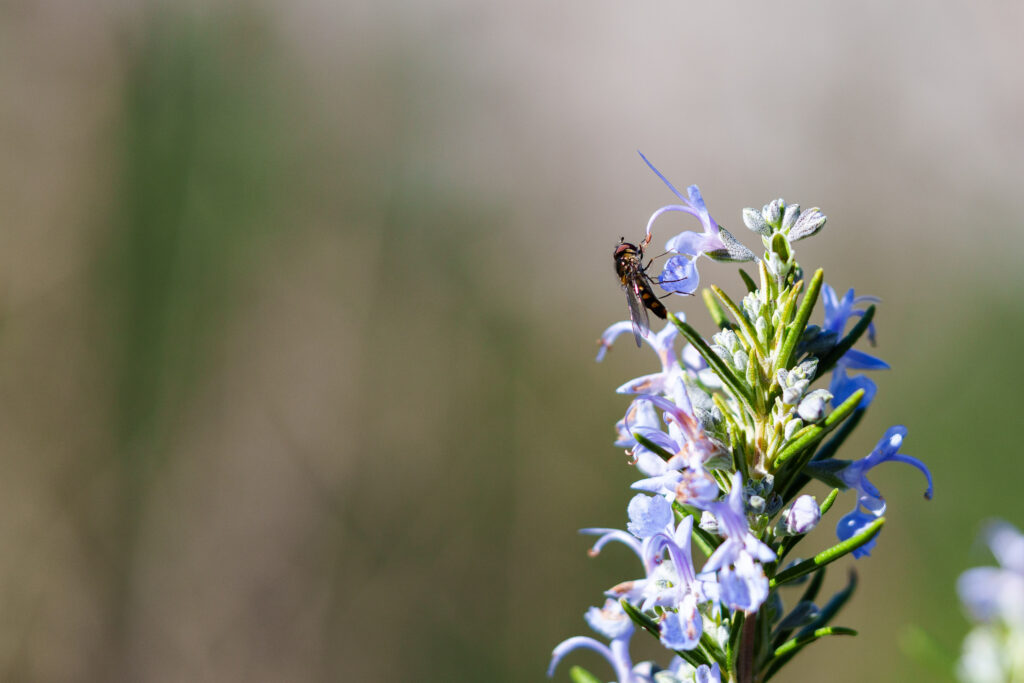
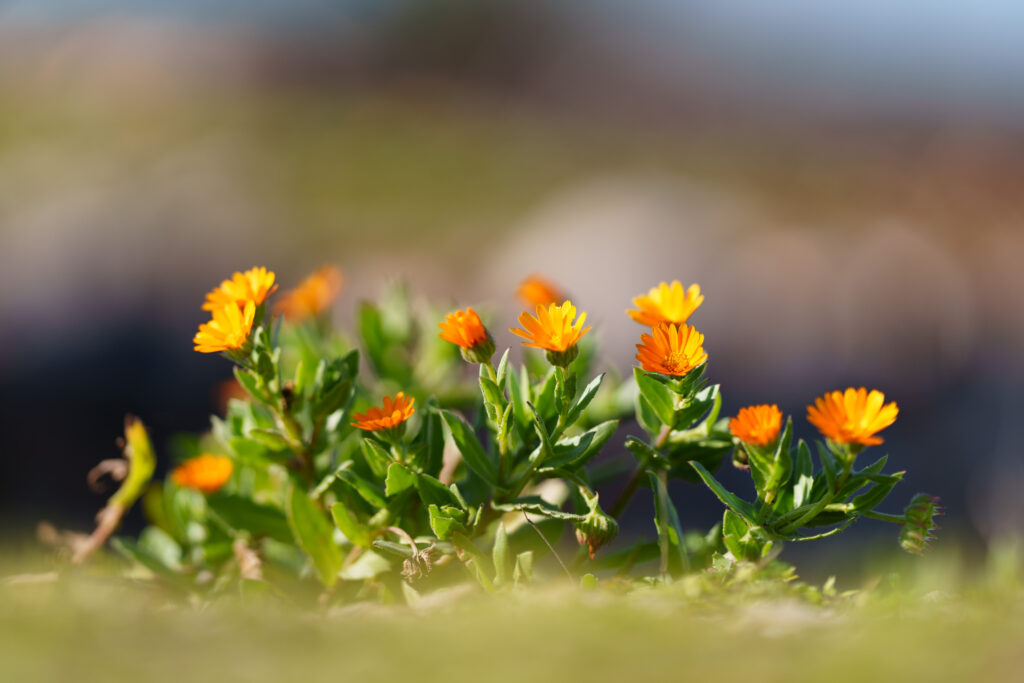
However, if you want to take pictures in the city, harsh midday light with hard shadows and reflections in the glass might be exactly what you want. I actually prefer the harsh but almost horizontal light before the sunset, almost at the golden hour, because it’s easy to find motives where the light shines through leaves or grass or whatever, and makes everything glow as if the light comes from within.

It doesn’t work that well when the light is vertical, so high noon is to be avoided still, but there’s still that period when the sun is low enough that it passes through flowers and leaves almost horizontally, but strong enough to create light that would conventionally be deemed too harsh for photography. However, if you use sun the way you would normally use a lightbox, to pass light through almost-transparent things in order to make them glow, that would work just fine.

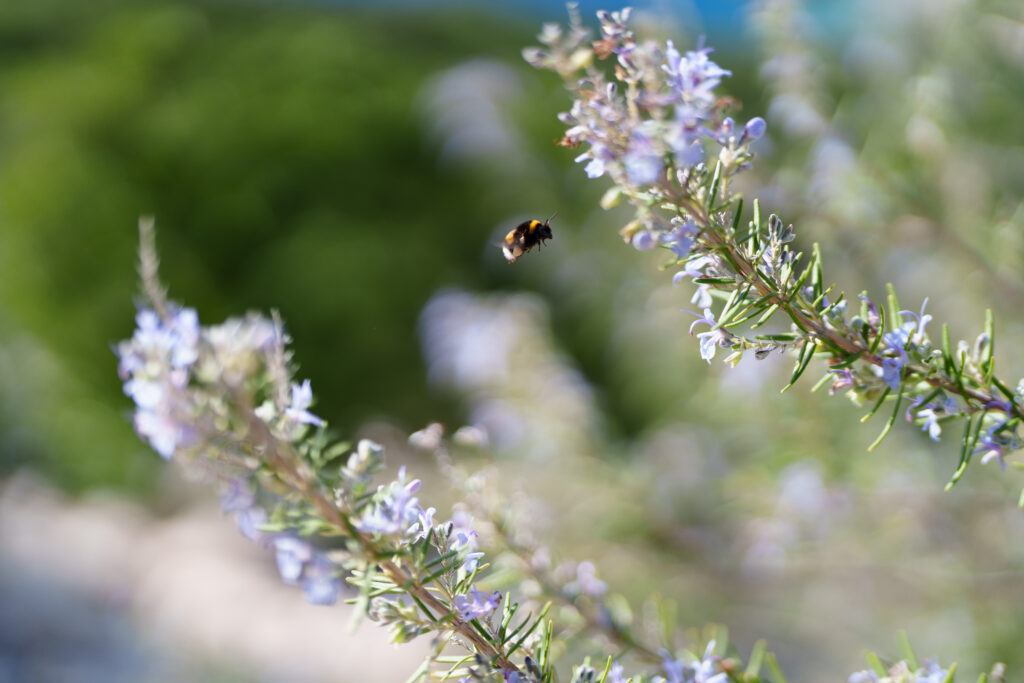
As for the shadows, sometimes I actually want them, and the light that makes them is the actual subject of my photo, and the thing formally chosen as a motive is chosen merely to showcase it, and has no particular meaning as such. The fact that I take pictures of flowers or pine cones or leaves doesn’t mean that I particularly care for them; they are merely elements I use to portray atmosphere and feeling.

Sure, light sometimes casts harsh shadows, and for some types of photography you want to avoid that; portraits, for instance. You don’t want shadows on your model’s face. However, if light and atmosphere are the subject matter, sometimes shadows are what you actually want, and they are what makes the picture.

So, there might be no such thing as bad light; only bad light for certain things. Some photographers consider blue sky and a clear day terrible conditions for landscape photography, because one tends to create boring “postcards” in such conditions, instead of the mood and character you get from the clouds and so on. I kind of agree, but to me it only means you need to get more creative and dismiss the easy shots everyone would get first; take those pictures just to get them out of your system and delete them later, but once you get past the obvious, you might get all kinds of ideas about things to shoot in harsh light and a washed-out hazy blue sky.

Beauty and ugliness

Yesterday I finally took that picture of the little St.Luke church and the nice new house nearby that fit very nicely in the landscape, from the road above. I’ve been planning to do something about it for years already but the vantage point is such that you can take the shot only with a telephoto, and since I didn’t have one I planned on sending a drone, but I didn’t want to disturb people with it in season, and out of season it was either cloudy or windy, and so for one reason or another it always got postponed.

The crow on top of the church is a nice accidental detail that made me chuckle due to symbolism. 🙂

It feels nice to check those boxes.

I also went to the nearby abandoned hotel that went to ruin after some succession failure after the breakup of Yugoslavia, and the sight is horrifying, because it didn’t just go to ruin like Pripyat, because it was abandoned. No; the locals systematically broke every piece of glass, every piece of furniture, spray-vandalised the walls, and even brought in old car tyres and who knows what other waste to dispose of here. It looks as if the Orcs came and made a point in destroying everything and making it as ugly as possible in a manifestation of their consciousness and choices.

It doesn’t look post-apocalyptic, in a sense where nature takes over human cities after humans are gone. I’ve seen such places, where the nature reclaims its own and the feeling is always calm, restful and beautiful. No, this is not like that; there’s a Mad Max post-civilisation look to it, the way things must have felt after the fall of Rome, where the barbarians plundered everything that wasn’t bolted to the walls, and then set the rest on fire, or scrawled some illiterate nonsense on the walls, smeared shit on temple altars, and then gradually used stone from old buildings of forgotten meaning to build their unsophisticated primitive stuff.

That’s why I felt the symbolism of that crow on the church so strongly, as if it were a sign.

Lens compromises

I jokingly say that all lenses are bad. They are either unsharp, with poor aperture and flawed in all sorts of ways, or they are heavy and expensive.

To that’s the compromise, in a nutshell. You can design a lens that has great aperture and optical performance, but it’s going to be expensive and heavy. Alternatively, you can make it cheap and light, but that’s going to adversely influence performance.

not necessarily so; shot with “cheap and light” Olympus Pen with the collapsible 14-42mm kit lens

So, why is that? Well, first of all, you need to know how lenses are designed. Basically, they bend light in a certain way, and that introduces flaws. Then additional elements are introduced to correct for those flaws. Every additional element means additional point of light transition between air and glass, which means antireflective coating is super important to maintain contrast and reduce flaring. Also, more glass equals more weight. You can reduce lens size if you reduce the circle it’s drawing, but then you get vignetting and unsharp corners. You can remove those problems by enlarging the circle, but then you increase weight. Also, you can reduce the aperture and thus keep the lens smaller and less expensive, while retaining sharpness. So, you can have it light, sharp, fast and cheap, just not all at the same time.

Sharp and fast, while heavy and expensive

The zoom lenses increase all the problems, and at the same time remove lots of the benefits. For instance, a f/2.8 zoom is considered fast (fast not in a sense that it does anything quickly, but in a sense that it lets through lots of light, thus allowing for faster shutter speeds). For a prime lens, f/2.8 is considered slow, and “fast” really starts at f/1.8. Also, with zooms, the more range you have the worse the lens typically behaves, and adding a fast aperture to that makes things either much worse optically, or expensive and heavy. This is why I think trying for a “Swiss army knife” lens that would do it all is an exceptionally bad idea. Yes, the idea is to replace a bag of lenses with one, but the problem is, that one will often weigh and cost about as much as the aforementioned bag of lenses. You think I’m joking? Try looking at the prices of 24-70mm f/2.8 and 70-200mm f/2.8 lenses in top quality, and you’ll see what I mean. Then again, try shopping for f/4 zooms in high quality, and fast f/1.8 and f/1.4 primes, and you’ll see what I mean. This is the reason why I usually stick with f/4 zooms and use them where versatility of focal length ranges is paramount, and aperture is secondary or irrelevant – such as landscape photography from a tripod, and I go for primes where focal range is irrelevant, but speed and sharpness wide open are paramount, such as low-light photography handheld, or portraiture with shallow depth of field. You don’t need to have it all in one lens, which is why people invented system cameras with interchangeable lenses, so that you could avoid resorting to Swiss army knife solutions. Sure, I understand that there are conditions where you want to avoid changing lenses a lot, because you could either miss shots, or drop a lens, or allow dust/rain inside the camera. However, in most cases this is not actually a problem. Carrying around a huge and expensive lens on your camera, however, is very rarely welcome.

The tragedy of zoom lenses, and especially the “standard” zoom lenses, in 24-105 or 24-70mm range, is that people think they are versatile and they can get by with only one lens for most things. Sure, they are versatile in focal length range, but they are usually very limiting in aperture, and this is what you are more likely to need; in essence, a 50mm f/1.8 prime is more versatile than a 24-105mm f/4 zoom, and I’m more likely to take it with me as a walkaround lens. It is also likely to be very light, inexpensive and very sharp. The ability to open the aperture all the way to f/1.8 means you can shoot in the kind of dark where you see the stars in the night sky; you can blur the background for portraits and get close enough for almost-macro details, and once you can do that, the limitation of a single focal length is not that much of a big deal for most things you might wish to do. And yes, you can do a great deal of landscape shots with a 50mm, and if 50mm is too tight or too wide for you, then you will know what to get next.

50mm f/1.4 prime, wide open at closest focusing distance

A beginner will feel the need to cover all potential uses of a camera before they figure out what they actually want to shoot, and that’s usually both expensive and frustrating, because you might actually get limiting equipment thinking you’re giving yourself options. For instance, one of the most practical and versatile lenses is a 35mm f/1.8 with good closeup capabilities, for instance the RF 35mm f/1.8 macro for Canon, or FE 35mm f/1.8 for Sony. They are sharp, fast, light and not very expensive, especially considering what you’re getting. Get that as your “every day” lens, and then observe what you wish you had – a specialised lens for birds, or an ultrawide, or a longer macro, or a midrange zoom for landscapes from a tripod, and buy lenses that are specialised for those tasks, instead of trying to buy the most expensive and heaviest Swiss army knife.

35mm for nature/landscapes

35mm in town, late night

35mm for details

Also, if you want a portrait lens, someone might suggest a 70-200mm f/2.8, which is extremely popular, but unless you need the focal range for indoor sports and weddings, I would recommend a 85mm f/1.8, or a 135mm if you want things tighter. You can save tons of money, and get results that might actually look better.

A portrait with an 85mm f/1.8 lens at f/2.8

85mm f/1.8 for details

Essentially, what I would recommend to a beginner who doesn’t want to overspend, and yet wants to be able to make photos of exceptional quality, would be to get a cheap standard kit lens that would be used stopped down to f/8-f/16 from a tripod, and a 50mm f/1.8 prime. Then, depending on the needs, get either a 16-35mm f/4 wide angle, or a 85mm f/1.8, or a 100mm f/2.8 macro, or 70-300mm f/4.5-5.6, or whatever you actually found out that you would need, based on actual experience and not guesswork. However, be advised that everything is a compromise – especially the “no compromise” optical solutions. So, the advice is to get in as cheaply as you can, possibly with used gear from a “dead” system that is heavily discounted, learn the ropes, figure out what you actually want, and then buy specific lenses for specific needs, avoiding the do-it-all solutions, because they are very often so impractical that they end up being not particularly good for anything.

How lenses work

I’ve been thinking how to explain photographic optics to beginners, because the explanation is usually something like this: the bigger the sensor, the lesser the depth of field, the closer the point of focus the lesser the depth of field, the wider the aperture the lesser the depth of field, the bigger the focal length the lesser the depth of field. So, depth of field is inversely proportional to focal length, sensor size, and aperture, and directly proportional to focal distance.

But what exactly is the depth of field?

To understand depth of field, you need to understand that only a single point in the image, the point of actual focus, is perfectly sharp. Everywhere else, the lens diffuses a ray of light into a circle, called the “circle of confusion”. If the circle of confusion is small enough to fit into a single pixel on the sensor, basically if its diameter is less than the pixel pitch of the sensor, we perceive it as “sharp”. However, what it actually looks like can be mathematically represented as a parabolic function:

Let’s say that the x axis represents the distance from the focal plane of the sensor. 0 is the point in focus. The y axis represents the diameter of the circle of confusion, and 0 means that it is in perfect focus, and y is a mathematical point. If it’s below 1, it means it is perceived as sharp because the diameter of the circle fits within one pixel. So, everything between 0 and 1 is perceived as sharp, and as the radius grows, the picture starts getting blurry. Let’s illustrate this photographically:

As you can see on the asphalt, there is a tiny strip of sharpness, and everything before and after is blurry, progressively with the distance from the point in focus. At the most distant parts you can clearly see the circles formed as the rays of light are defocused. On the strip in focus, it appears that more than just a single point is in focus, because for some time the defocused circles are small enough to fit within a pixel on this level of magnification. This strip that is perceived as sharp is called the depth of field.

The shape of the circles of confusion beyond the depth of field is called “bokeh”. The angle of the parabolic function defines the amount of bokeh. If the parabolic function is steep, it means that only the things very close to the point of focus are sharp, as everywhere else the circle quickly grows into huge “bokeh balls”:

If the function is “shallow”, it means that it is possible to create an illusion that the entire image is sharp, from the closest visible point all the way to the horizon, because the diameter of the circle of confusion at the desired magnification of the output is still less than 1, or close enough not to matter:

So, in effect, the perceived sharpness beyond the point of actual focus is an artifact of magnification and photographic trickery. If you magnify enough, you’ll see that almost nothing is ever in perfect focus.

Now we get to the useful parts. If you shorten the focal length, you reduce the angle of the parabolic function, making it almost parallel to the x-axis. The same happens when you reduce the sensor size, but the reason is trivial – you need lesser actual focal length to produce the same field of view on a smaller sensor, so it’s still merely a function of the focal length. When you stop down the aperture, you force light to go through a smaller circle, reducing the cone of light that produces a mathematical point when in focus, or disperses more strongly when not. In theory, only a picture formed by perfectly collimated light source, meaning parallel rays of light, would be in perfect focus, meaning no light cones, but laser rays; also, this means that a pinhole camera, or a camera with a lens stopped down so extremely that it becomes a pinhole, would form a perfectly sharp image with an infinite depth of field. However, as the aperture becomes smaller, the rays of light interfere with its edges, which blurs the image, which means that such a perfectly sharp image would also become perfectly blurry due to diffraction. So, since, the f-stop is a function of the focal length, the absolute aperture is merely a function of the focal length as well, which means that we managed to reduce three parameters to one – sensor size, aperture and focal length are all functions of the absolute focal length, which leaves distance from the focal plane. However, if you imagine the light cone formed by the object in focus, it is obvious that the angle of this cone becomes larger as the object is closer, and smaller as it is farther. This means that the rays of light become closer to parallel as we focus closer to infinity, which produces an effect similar to stopping down the aperture. This also means that we managed to reduce all our parameters to the angle of the light cone, and diffraction as the second limiting factor that literally interferes with sharpness.

Sure, there are other optical effects that play a role – for instance, the difference in sharpness away from the centre of the circle that the lens draws, and within which the sensor is inscribed, the difference in refraction of various wavelengths of light, which creates chromatic aberration, the difference in the amount of light that falls on the edge of the circle relative to the centre, which defines vignetting, and so on. There are many optical defects that detract from the ideal appearance of the image, and although sometimes those optical defects can look interesting or charming, I personally subscribe to the opinion that less is more when it comes to defects. The only optical defect that I actually intentionally introduce to images at times is vignetting, because I think it focuses attention to the centre of the image, which is usually useful.

In any case, the difference between optical defects and optical laws is that the optical laws are something that will determine what happens with every single lens of a certain aperture and focal length, when projecting a circle of a certain size upon the focal plane. Optical defects, however, are what differentiates lenses of superior and inferior optical design and quality. This means that all telephoto lenses with wide aperture will create very shallow depth of field, but the good lenses will be tack sharp in the point of focus and devoid of significant defects, while bad lenses will be lacking in sharpness everywhere, and will introduce all kinds of optical defects, such as field curvature, low resolution, chromatic aberrations, colour cast and so on. Complexity of design and manufacturing tolerances that make a difference between bad, good and great lenses can be really extreme, which is reflected in the price; your tolerance for optical defects might vary. Unlike defects, the optical properties that are defined by focal length, circle size and aperture are universal, and don’t vary with lens design and price range.